
Seed Bread Recipe
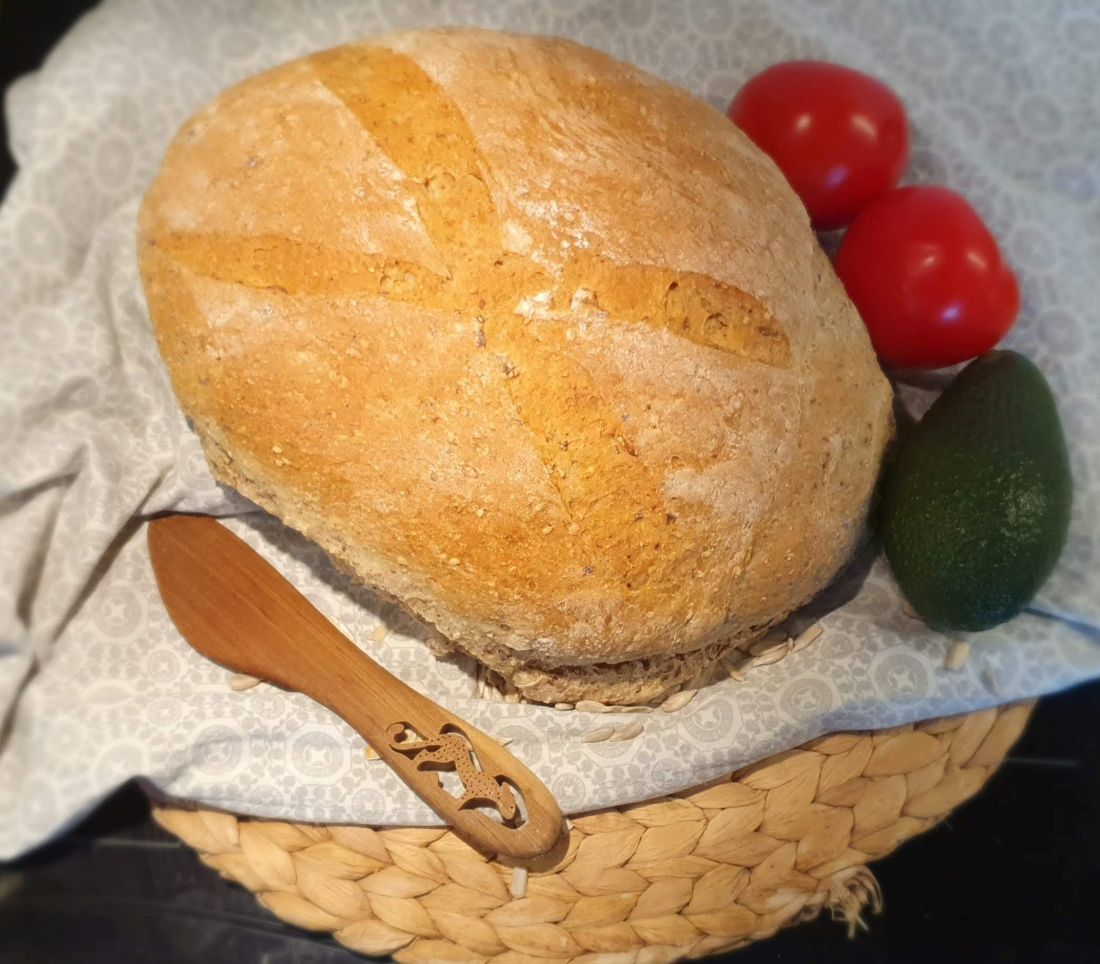
I want to share a bread recipe that has followed me since childhood. It’s a fantastic recipe that fills the kitchen with the most amazing smell and tastes just as good as it smells. It’s especially delicious straight from the oven with butter and cheese — my absolute favorite way to enjoy it.
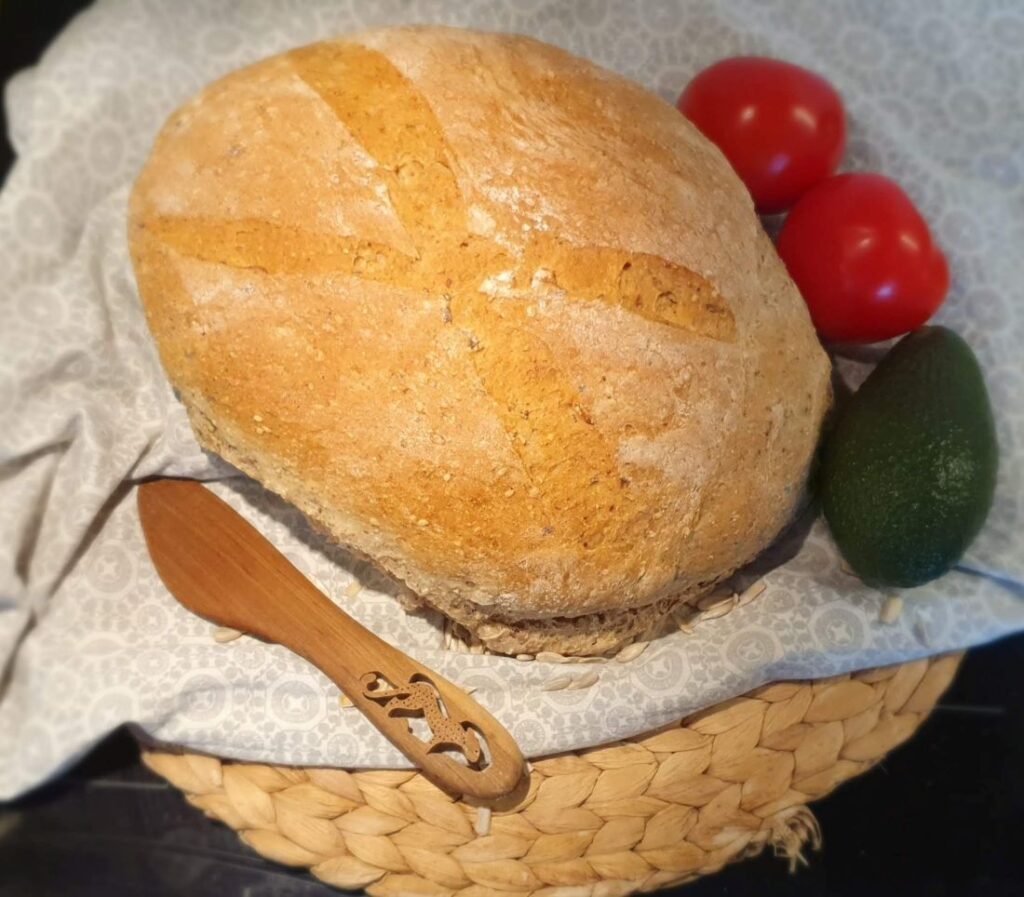
Whether you are looking for something to serve with a warm soup or take with you on a hike, this recipe is perfect to add to your daily life. This healthy loaf of bread also provides some extra protein, thanks to the seeds, which you can vary with nuts or other ingredients of your choice. After baking these loaves of bread, I almost guarantee that your kids will love tasting them with melted butter on top! I hope it will be a true blessing for your family.
Putting the ingredients together takes only 5–10 minutes, and kneading the dough will take another 5–10 minutes. So the actual work isn’t too much. The time-consuming part is simply that you need to be at home while the dough rises and bakes in the oven (well, maybe not while the dough is rising, but at least when it’s in the oven…).
Ingredients
Water: I use regular tap water (we have our own well) and heat it until it’s finger-warm, about 38°C (100°F). Using warm water is important so the bread can rise properly.
Dry yeast: I use 50 g of dry yeast, mixed into the warm water. Make sure the water isn’t too hot — otherwise the yeast won’t work. This has happened to me more times than I’d like to admit, and it’s very frustrating! When that happens, the bread turns out flat, dense, and not nearly as enjoyable as it should be.
Olive oil: I use virgin olive oil for a nice, mild flavor.
Salt: Regular table salt works perfectly, but you can also use sea salt if you prefer.
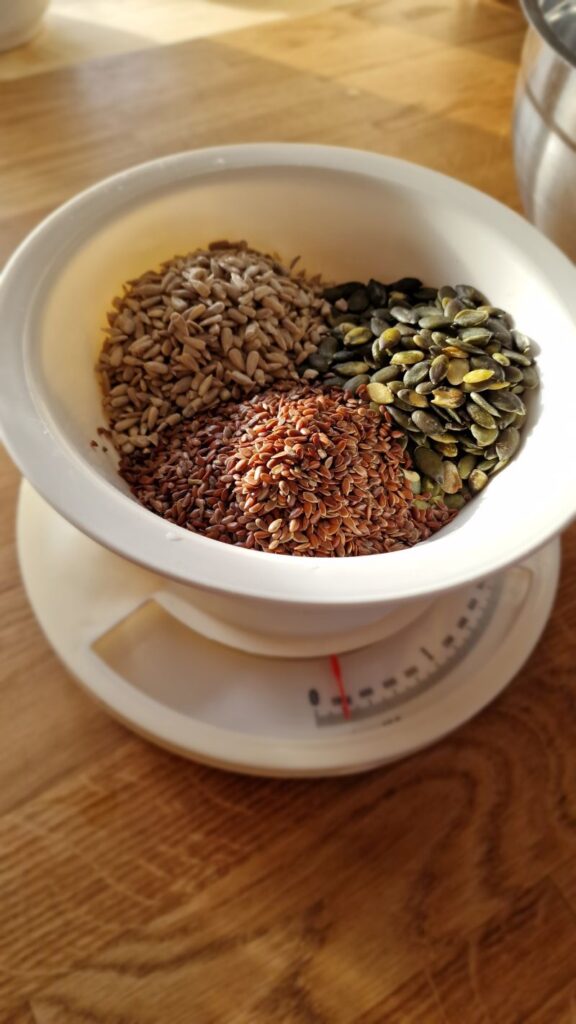
Seeds: I usually combine three different kinds of seeds, but you can use one or two depending on what you like or have at home. For example, chia seeds or sesame seeds work really well.
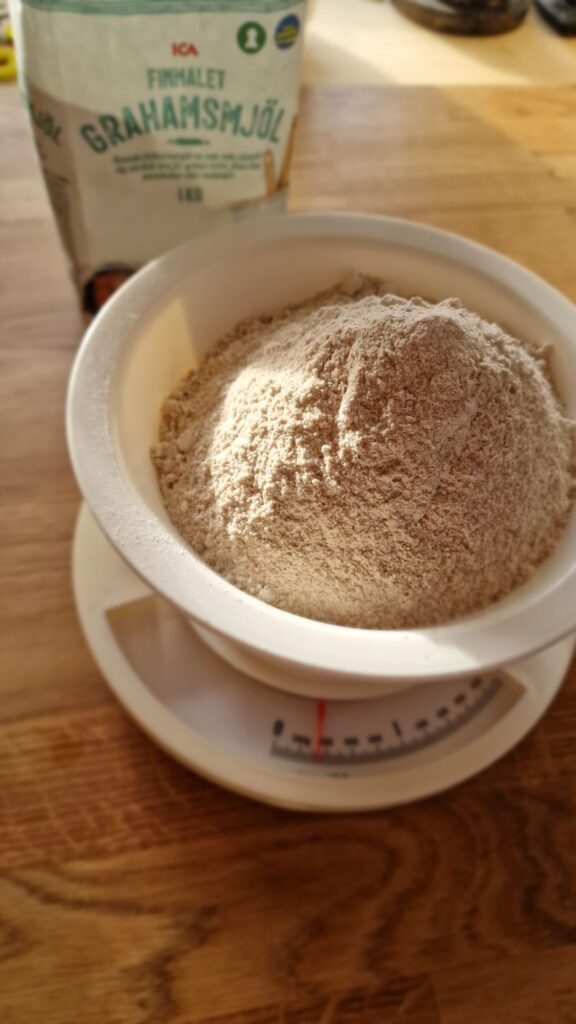
Graham flour / whole wheat flour: This is the flour that gives the bread its wonderful aroma. I use about 50% whole wheat flour and 50% all-purpose flour so the bread stays flavorful without becoming too heavy.
All-purpose flour: You can adjust the amount depending on how the dough feels. Use more or less as needed to get the right consistency — not so wet that it sticks, and not so dry that the bread becomes dense.
Honey: For sweetness, you can use honey, maple syrup, or another sweetener. I usually go with honey to keep it a bit on the healthier side.
How to Make the Bread
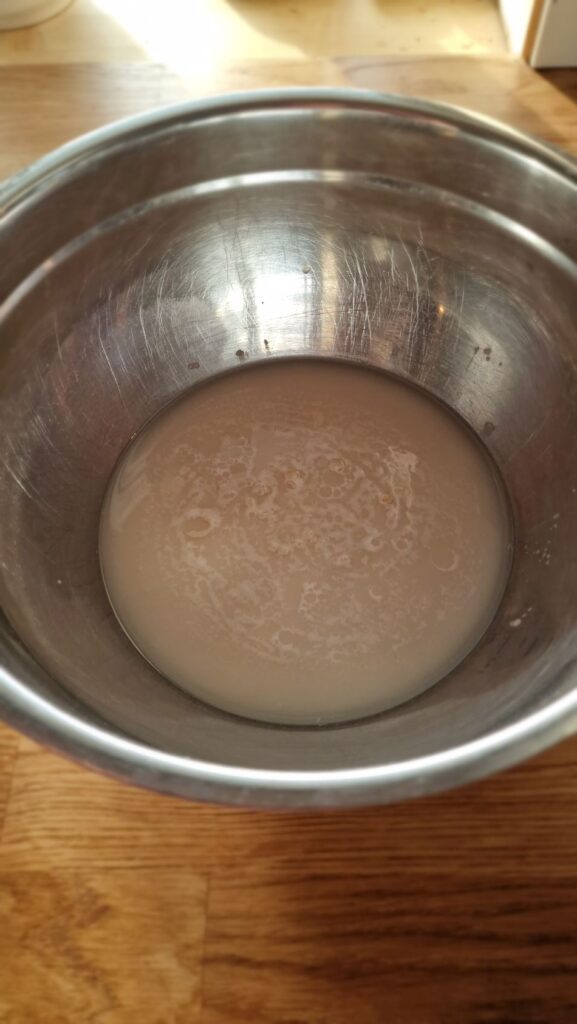
Start by heating the water until it’s finger-warm. Pour it into a large bowl, add the active dry yeast, and mix gently. Let it sit for about 10 minutes so the yeast can activate.
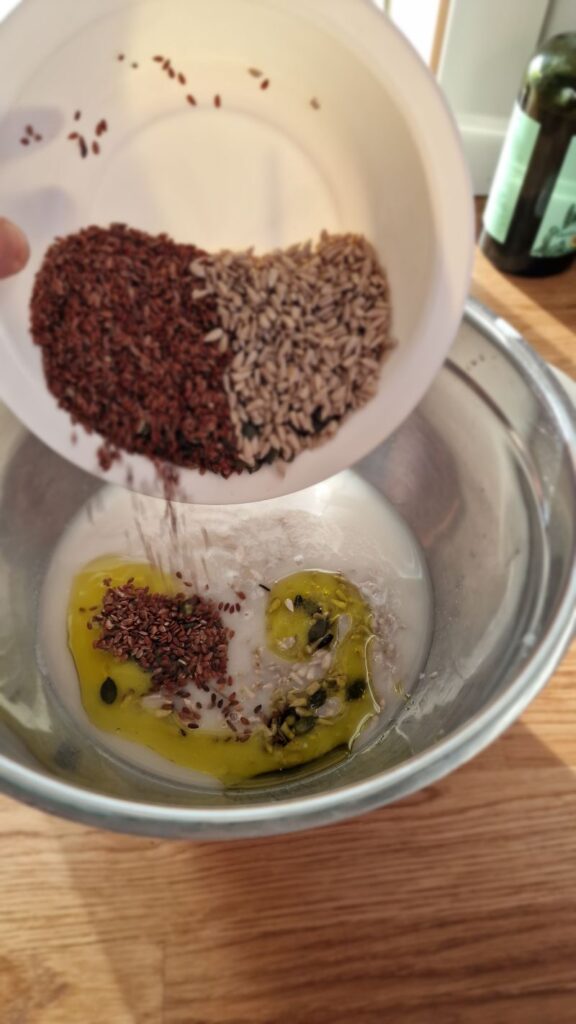
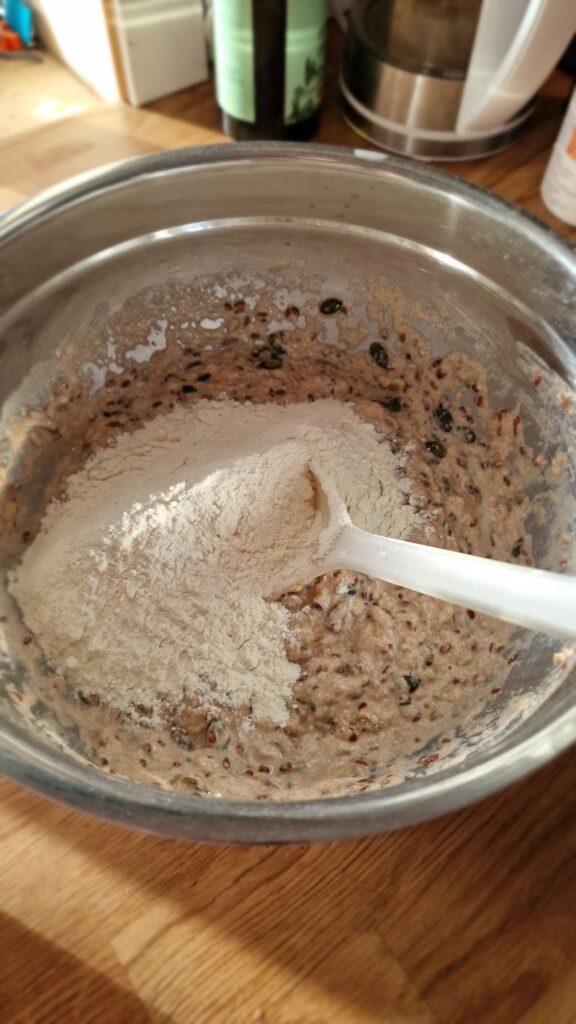
Next, add the olive oil, salt, honey, and seeds, and mix well. Stir in the dry ingredients (graham flour), mix again, and then add the all-purpose flour. Mix until everything comes together.
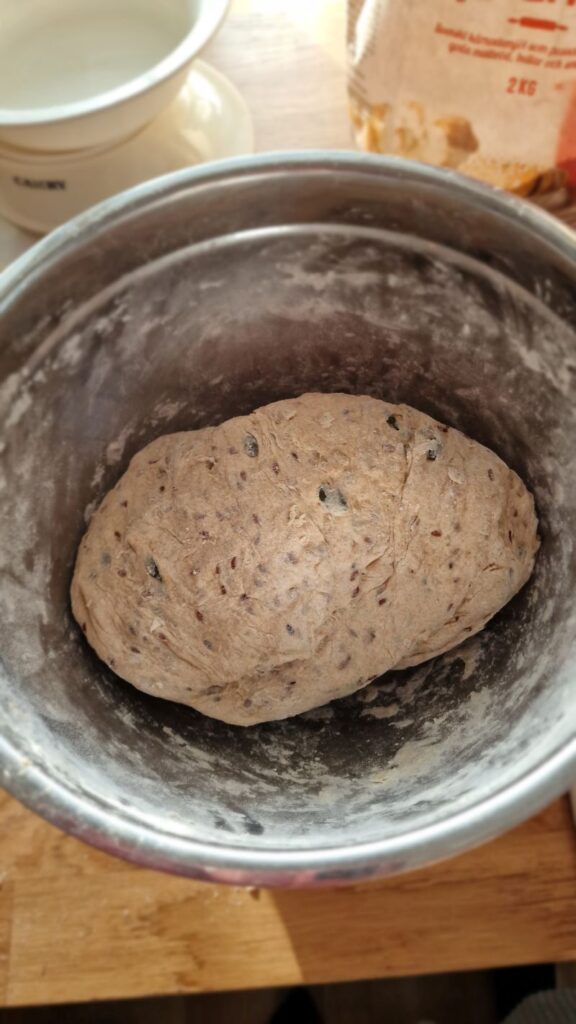
Once the dough starts to feel firmer, begin kneading. Add a little more flour if needed. You’re aiming for a dough that feels soft and elastic but doesn’t stick to your fingers. Knead for at least 5 minutes on a lightly floured work surface—and honestly, the longer you knead, the better the bread will be.
Cover the bowl with a kitchen towel and let the dough rise for at least 1 hour. There’s no stress here—letting it rise for a couple of hours is even better. I’ve accidentally done this many times, and the bread always turns out amazing.
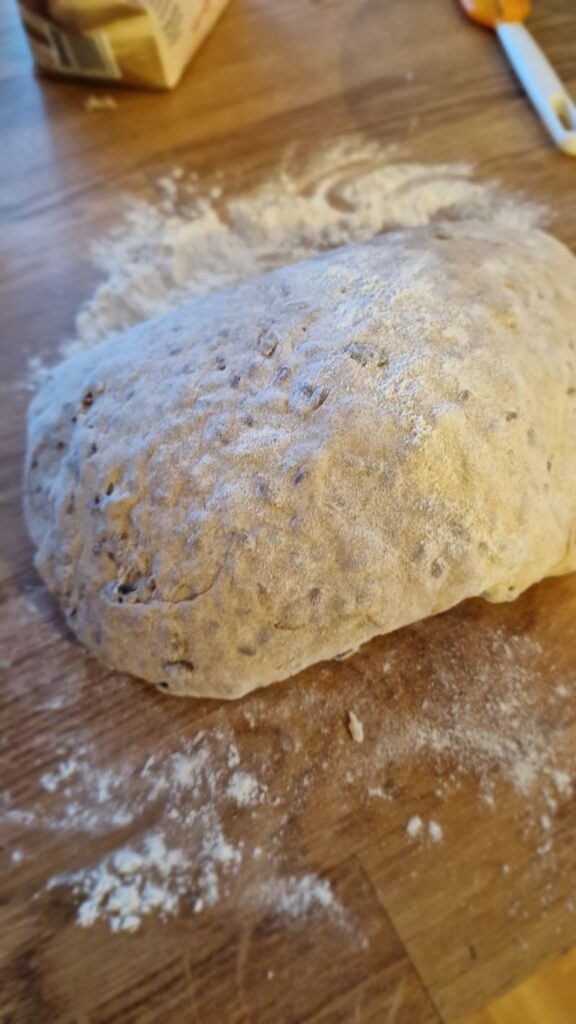
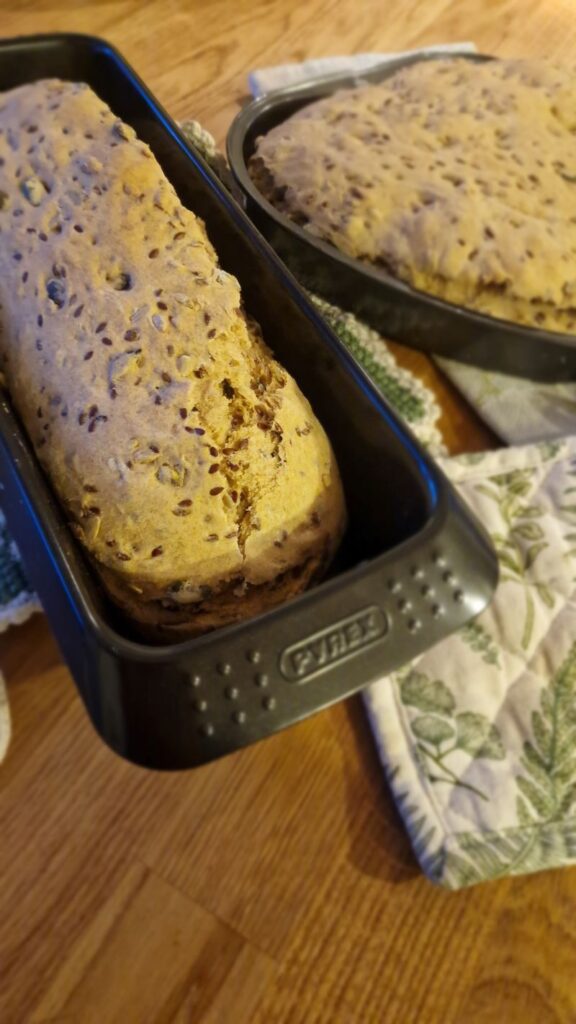
Once risen, knead the dough briefly again, then shape it into small buns or 2 loaves. Place them in a baking pan or on a baking tray lined with parchment paper, cover lightly, and let them rise for another 30 minutes. Bake in the middle rack of the oven at 200°C (390°F) for 20 minutes or longer, until the bread is golden brown. Remove from the oven and place on a cooling rack. Let it cool slightly before eating—if you can resist, haha!
Variations for This Whole Wheat Bread
One of the best things about this bread recipe is how flexible it is. You can easily vary the types of seeds depending on what you have at home. I love adding flax seeds for an extra boost of omega-3s, and sunflower seeds are another favorite because they add great flavor and texture.
Tip: For better omega-3 absorption, it’s best to use ground (milled) flax seeds, since whole flax seeds mostly pass through the digestive system undigested. You can grind them yourself or buy pre-ground flax seeds.
Another option that I have not yet tried is to adjust the bread to be sweeter or more savory. Dried fruit, like raisins or chopped dates, works well for a sweeter version, while herbs or additional seeds on top of the dough add extra crunch. Next time I make this whole wheat bread recipe, I might add chopped nuts to the bread dough, which I think will give it a bit more nutty flavor and extra protein. Experiment with whatever you already have in your pantry and see the results. Through trying and experimenting with new variations, recipe development may lead to a new and delicious bread recipe!
How to Store This Nourishing Bread
This bread freezes really well, so you don’t have to worry about leftovers if you can’t eat the whole loaf before it goes bad. You can store it at room temperature for approximately 5 days to a week before it starts to mold. This nourishing bread will keep a little longer in the fridge, and up to 6 months in the freezer. Store in an airtight container.
Tip: For best results in the freezer, slice the bread first and wrap it tightly in plastic wrap or a freezer bag. This way, you can take out only what you need without thawing the whole loaf. You can also put the slices directly into the toaster, which will thaw and warm the bread quickly.
What to Serve with This Delicious Bread
Butter and cheese go amazingly well with this bread. Another favorite, especially for kids, is butter and honey. When the bread is a day or two old, a great combination is peanut butter and jam or simply honey. A glass of milk also pairs perfectly — and for vegans, any non-dairy milk alternative works just as well. But actually, you can put anything you like on this bread — use your favorite spreads!

Last Friday, I actually made this recipe using flax seeds, sunflower seeds, and pumpkin seeds. I was very careful with the yeast, and after letting the dough rest, it rose perfectly. I love the aroma from the oven, which alone is almost worth baking the bread for.
Related Posts You Might Be Interested In
No-Bake Chocolate Date Energy Balls – Simple Recipe
Vegetable Snack Ideas for the Whole Family
Ingredients
- 0.5 L water – finger-warm (about 38°C / 100°F)
- 50 g active dry yeast
- 2 tablespoons olive oil – preferably extra virgin
- 2 teaspoons salt – table salt or sea salt
- 2 tablespoons honey – or another sweetener of your choice
- 150 g seed mixture – e.g., flax seeds, sunflower seeds, pumpkin seeds (adjust to taste)
- 300 g graham flour or whole wheat flour – for flavor and aroma
- 300 g all-purpose flour – to balance the dough consistency
Instructions
- Heat the water to a finger-warm temperature and pour it into a large bowl.
- Add the active dry yeast and mix. Let it sit for about 10 minutes.
- Stir in the olive oil, salt, honey, and seeds. Mix well.
- Add the graham flour and mix, then add the all-purpose flour. Mix thoroughly.
- Begin kneading the dough once it firms up. Add more flour if needed. The dough should not stick to your fingers. Knead for at least 5 minutes (longer is better).
- Cover the bowl with a kitchen towel and allow the dough to rise for at least 1 hour. For even better results, let it rise for 2 hours.
- Knead the dough briefly again, then shape it into small buns or loaves. Place the shaped dough in a baking pan or tray and let it rise for another 30 minutes.
- Bake at 200°C (390°F) for 20 minutes or longer until golden brown.
- Remove from the oven and place on a cooling rack before serving.
Ingredients
Method
- Heat the water to a finger-warm temperature and pour it into a large bowl.
- Add the active dry yeast and mix. Let it sit for about 10 minutes.
- Stir in the olive oil, salt, honey, and seeds. Mix well.
- Add the graham flour and mix, then add the all-purpose flour. Mix thoroughly.
- Begin kneading the dough once it firms up. Add more flour if needed. The dough should not stick to your fingers. Knead for at least 5 minutes (longer is better).
- Cover the bowl with a kitchen towel and allow the dough to rise for at least 1 hour. For even better results, let it rise for 2 hours.
- Knead the dough briefly again, then shape it into small buns or loaves. Place the shaped dough in a baking pan or tray and let it rise for another 30 minutes.
- Bake at 200°C (390°F) for 20 minutes or longer until golden brown.
- Remove from the oven and place on a cooling rack before serving.
